This guide will walk you through the xTeve set-up configuration to connect with your Plex Media Server for channels and a TV Guide. It is basically acting as a tuner for Plex, and you will of course need an IPTV service and an associated EPG for the channels and guide.
Let’s Begin
First you will need to open a browser and enter the local IP address and the xTeve port for your xTeve installation. For example, if the IP address for the device is 10.0.0.25 you will enter http://10.0.0.25:34400/web. If you are not sure of your local IP address, you can open a terminal and type in hostname -I and press enter. The first IP address in the list should be the one you need. For more information on how it works you can go to their website at https://github.com/xteve-project/xTeVe
This will open up xTeve. You will need 2 url’s to get this set up. One will be the url for your m3u, which is your channels, that you either created or were provided to you by your IPTV service. The other will be the url for your xml TV Guide you usually set up with a 3rd party source like https://m3u4u.com/, which is free or a paid service like https://epg.best/ Epg.best costs a very small amount per year, but it is what I personally use as I found it to work better with fewer missing guides for channels than the others.
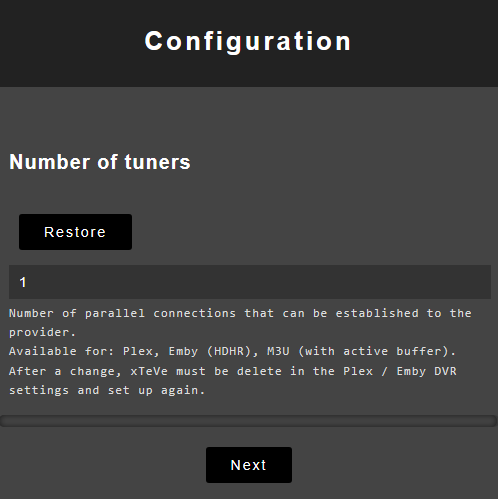
To get started click on next, twice.
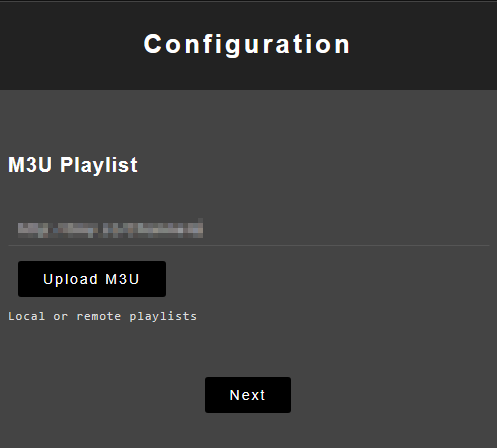
Now we will enter the URL for the m3u playlist (channels) or you can upload it if you prefer. I recommend using the URL so you are not having to constantly update to a new list as the URL updates as it goes. Then click next.
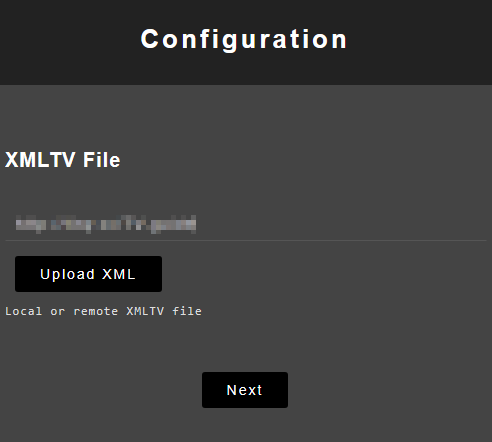
Enter the URL for the EPG. This is an XML file for the guide. Click next.
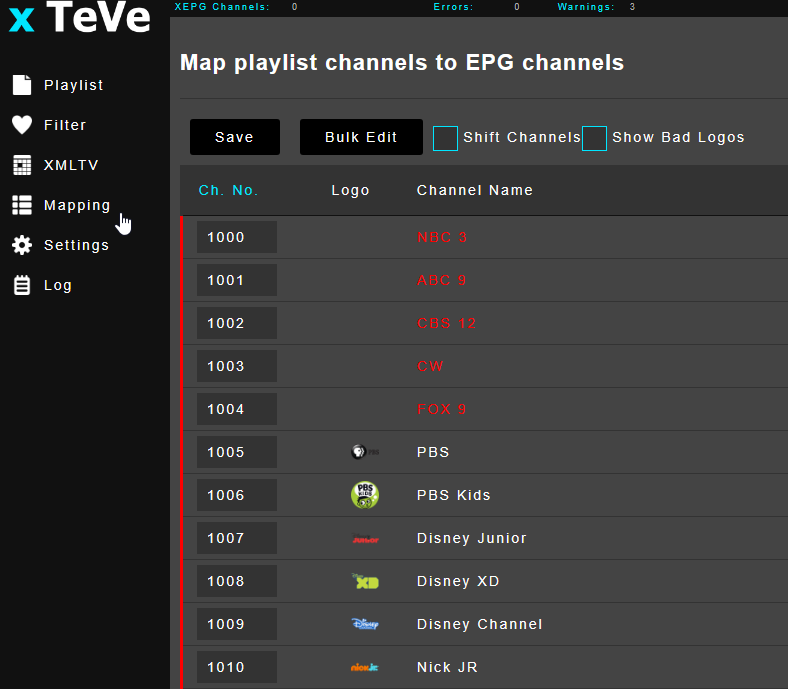
Once both of those URLs are added it is time to check on the mapping status. Click on mapping.
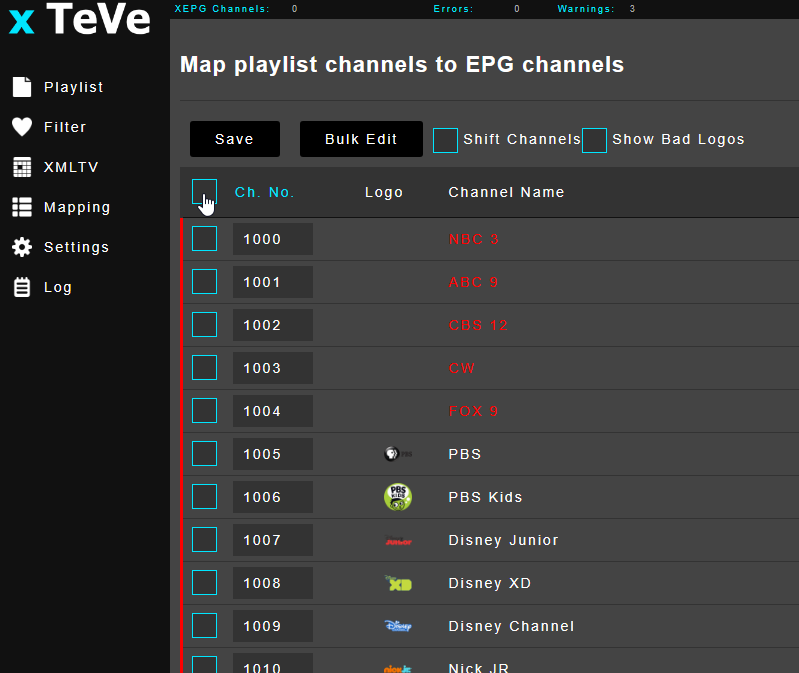
If you see a lot of red next to the channels, then click on bulk select and then select the top box. Click any channel and then click the active box and then done. This will change most to green.
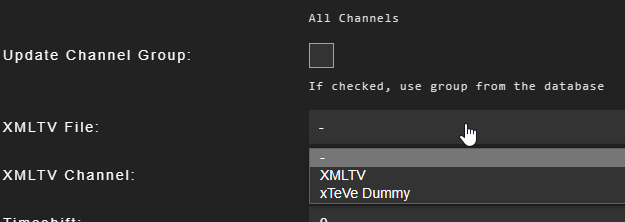
The ones in red you will need to look at one at a time. Just click on a channel and most of the time you just need to go to the bottom and select XMLTV File: drop down and select XMLTV. This should place the correct channel in the box below it for channel. If not, click that drop down and look for the correct channel and change to green.
Adding xTeve to Plex Media Server
In your browser of choice go to https://app.plex.tv/ and sign in to your Plex account. Click on the settings icon in the top right
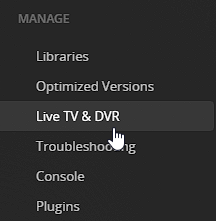
In the manage menu on the left, click on the Live TV & DVR
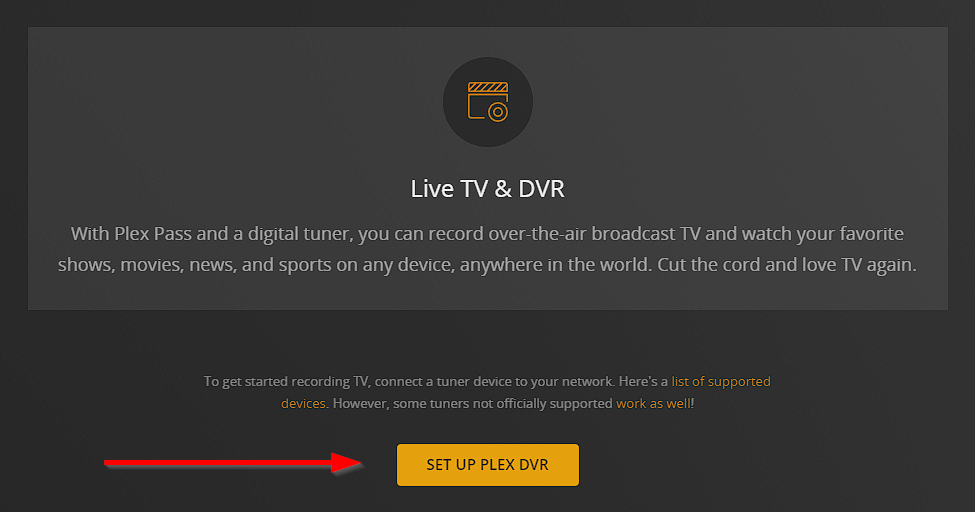
Click on the big yellow Set up plex DVR button
Click on the line that says “Don’t see your HDHomeRun Device? Enter its network address manually”
Enter the internal IP and port for xTeve. I will show an example. Please change it to your IP and click on connect.
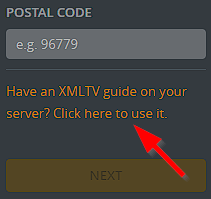
You should see a tuner pop up and at the bottom you will click “Have an XMLTV guide…” link
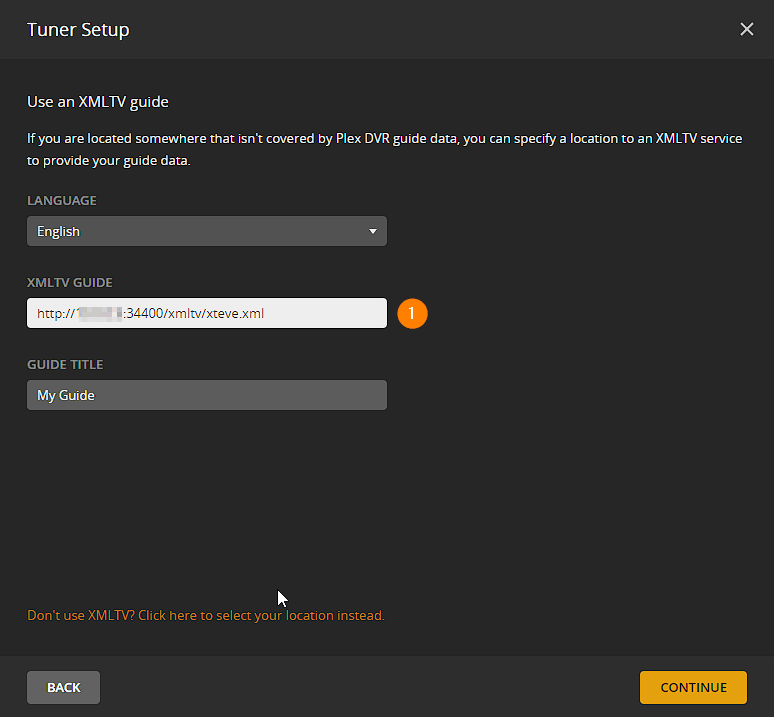
Go to your xTeve in your browser and look for XEPG URL. This is the link to get to your guide. Copy the link
Go back to Plex and enter this in the XMLTV GUIDE and give it a name.
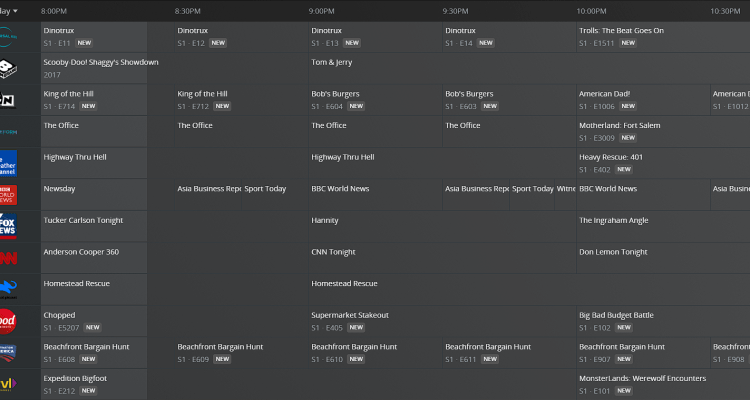
Your guide will load. Once finished you will see your Live tv under the ….wait for it….Live TV section.
Final thoughts
Hopefully this will help someone to add IPTV to your Plex Media Server using xTeve. Keep in mind that this requires a Plex Pass and the lifetime is by far the best option. The neat thing about adding this to Plex is that you can now DVR as well with that plex pass.
Below are the links to each part of the All-in-One Media Docker Container. Next up is Jellyfin.
Find more posts on https://notposted.com








No Comments on "xTeve set-up configuration (Part 8 of the All-in-One Media Docker Container)"