

This guide will walk you through the Jellyfin set-up configuration to serve up your media on a multitude of devices. Jellyfin has apps for many different devices so you can watch it just about anywhere. Jellyfin is free software and has many nice features the same as other paid media servers like Live TV & DVR, Movies, TV Shows, Books, Music, Photos, etc.
Let’s Begin
First you will need to open a browser and enter the local IP address and the Jellyfin port for your Jellyfin installation. For example, if the IP address for the device is 10.0.0.25 you will enter http://10.0.0.25:8096. If you are not sure of your local IP address, you can open a terminal and type in hostname -I and press enter. The first IP address in the list should be the one you need. For more information on how it works you can go to their website at https://jellyfin.org/
Set-up
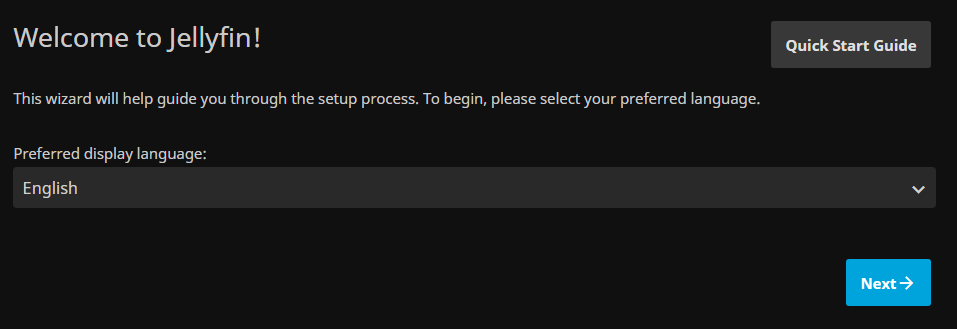
Choose your language and click next.
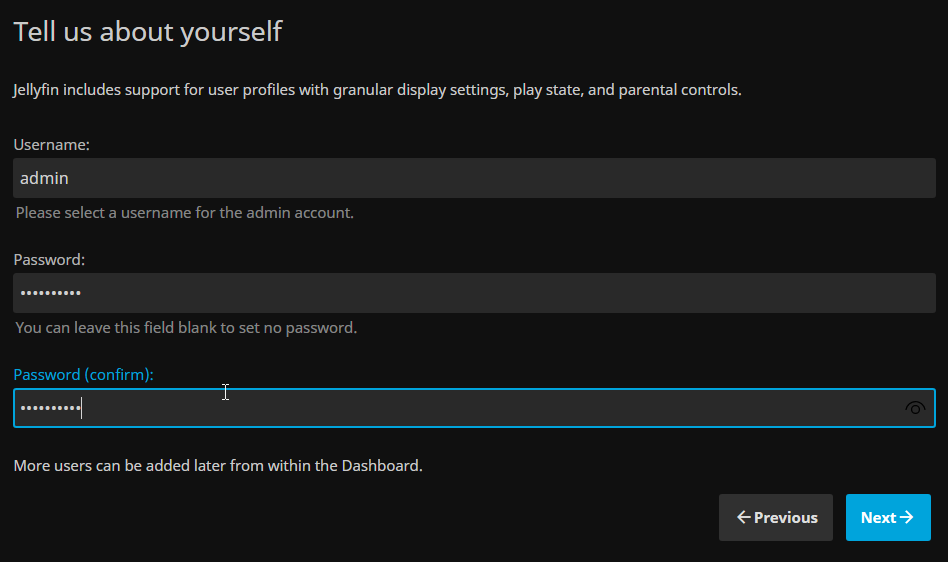
Create an admin account.
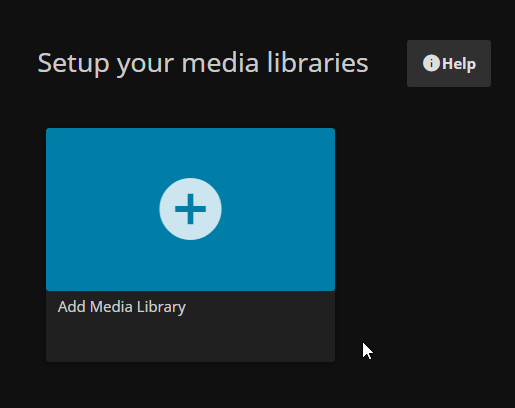
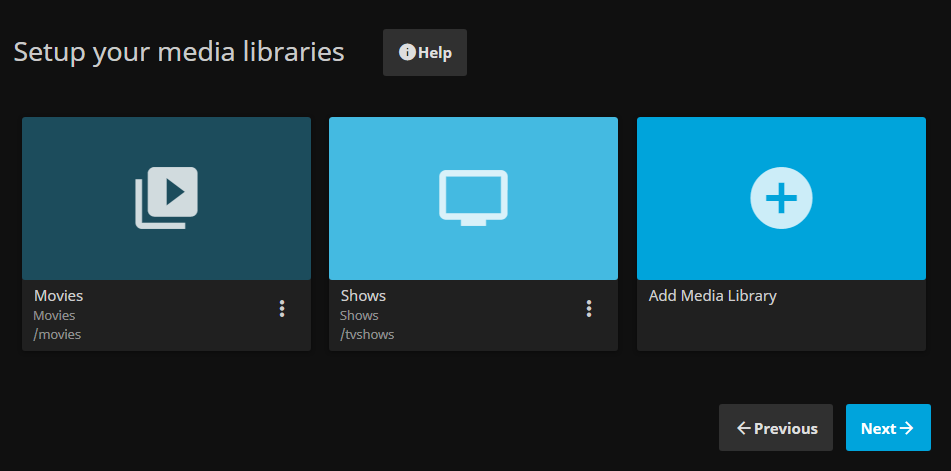
Select the plus sign box to add a library.
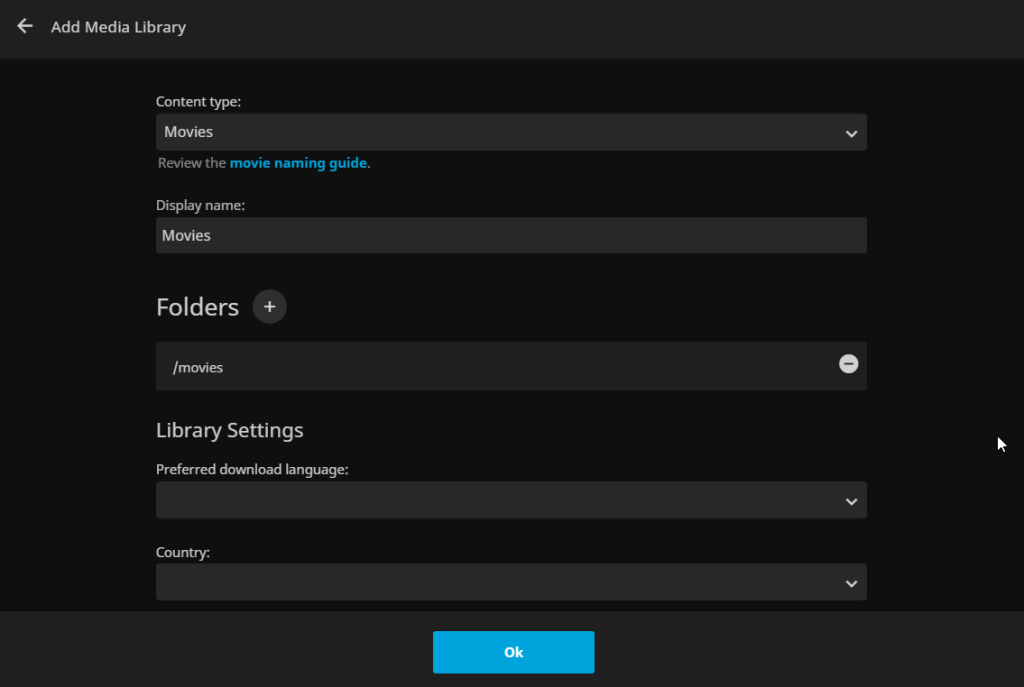
Choose the content type, like Movies, TV Shows, etc.
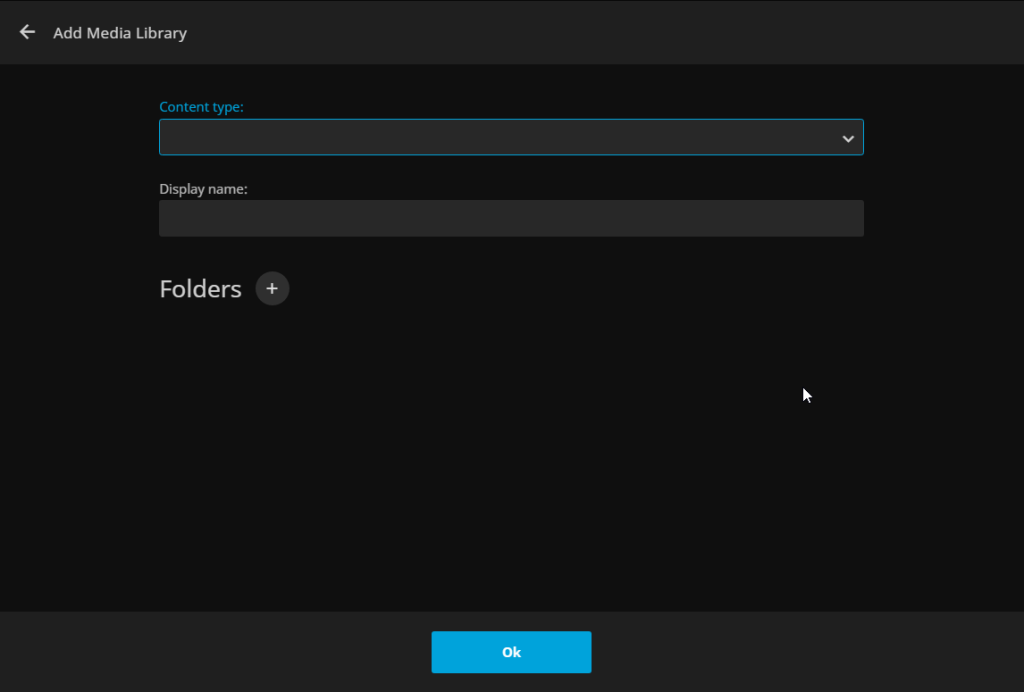
Click on the plus sign for folders and find your folder. If you did not change the volume in your docker compose file this should say /movies for your movies folder and /tvshows for TV Shows. The rest of the settings can be left at default or read through and change to your preferences. Click on OK. Then add any other library types you have.
Once you have them all added press on the Next button.
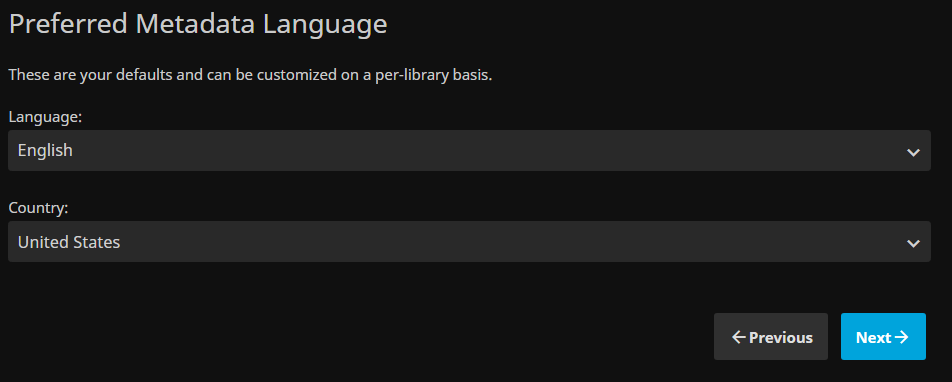
Choose preferred metadata language.
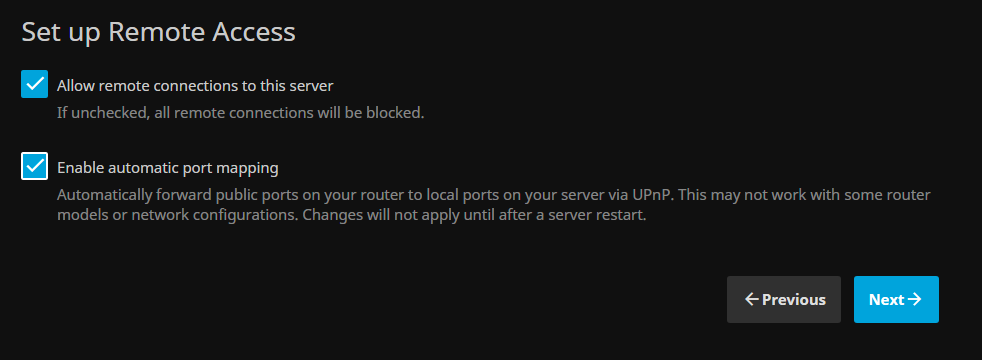
I checked both of these, but you do you.
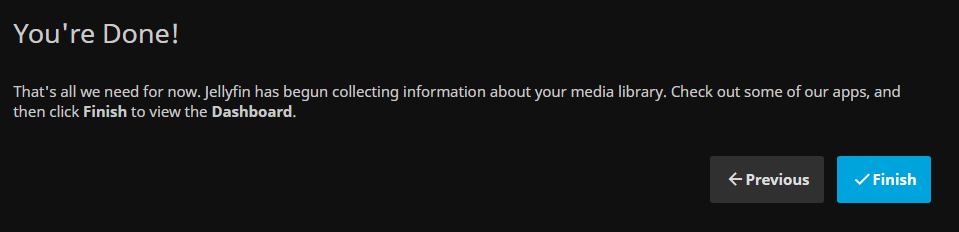
And it looks like we have reached our destination, for Jellyfin once you click on finish.
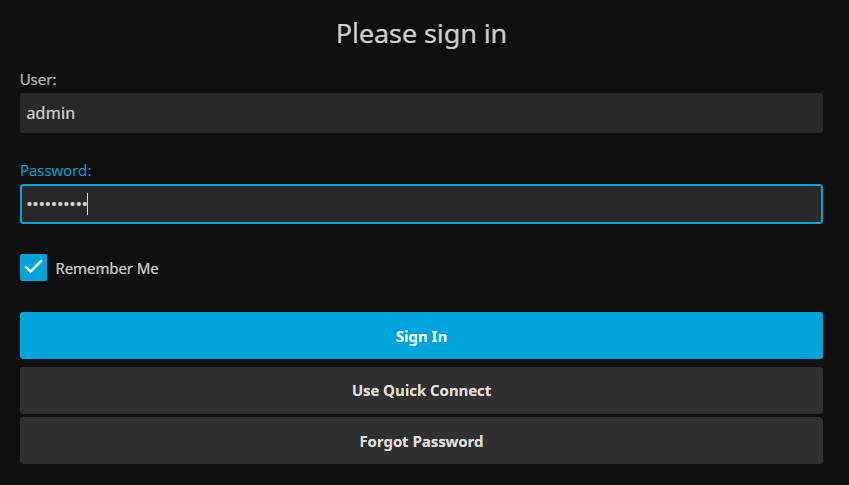
Or not. Sign in first.
Set-up IPTV
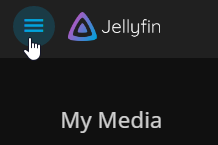
Open the menu in the top left.
Navigate to the dashboard under Administration.

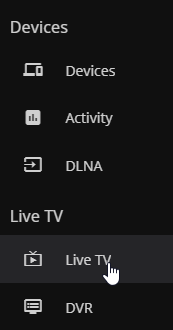
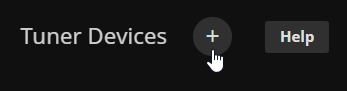
Scroll down to Live TV
Click on the plus sign to add a tuner.
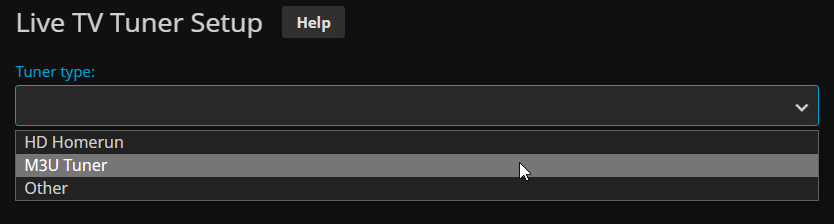
From the drop-down menu choose M3U tuner
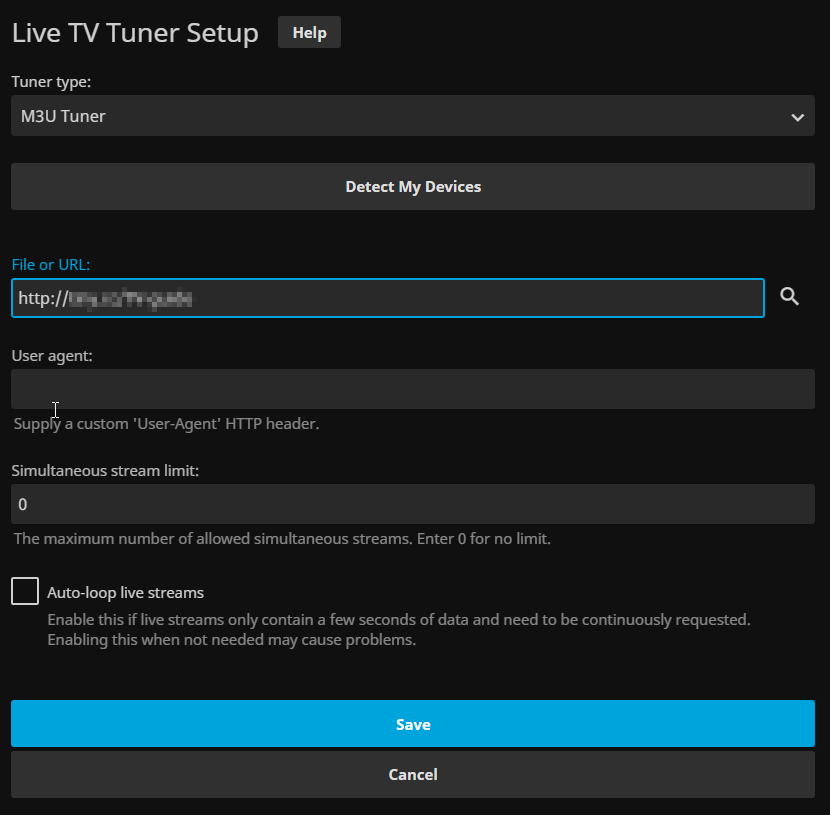
Enter the URL to your M3U and click on save.
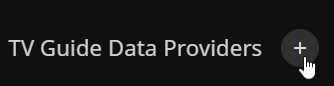
Add your EPG URL by click on the plus sign and choosing XMLTV.
Enter the URL for your guide. If you do not have one you can create one at https://epg.best or you can also create one on M3U4U by following this guide >> https://notposted.com/private-iptv-access-and-set-up/. Just scroll down to the section that says create your tv guide.

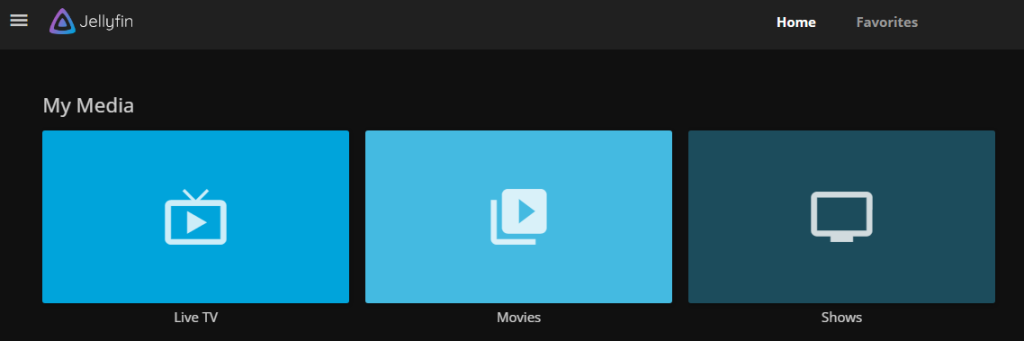
You should now have a live tv section back on your home screen.
Final Thoughts
We are now finished setting up our Jellyfin Media Server to play all of our media on. We even added the IPTV with a guide for live tv viewing.
Below are the links to each part of the All-in-One Media Docker Container. Next up is Ombi.
Find more on https://notposted.com

")
")
No Comments on "Jellyfin set-up configuration (Part 9 of the All-in-One Media Docker Container Series)"