
This guide will walk you through the Radarr set-up configuration to connect to Jackett, qBittorrent and eventually Ombi. Radarr has a lot of functionality and features built into it, but for the purposes of this guide we will be mainly using it to interface with our Jackett indexer and our qBittorrent client.
Let’s Begin
First you will need to open a browser and enter the local IP address and the Radarr port for your Radarr installation. For example, if the IP address for the device is 10.0.0.25 you will enter http://10.0.0.25:7878. If you are not sure of your local IP address, you can open a terminal and type in hostname -I and press enter. The first IP address in the list should be the one you need. For more information on how it works you can go to their website at https://radarr.video/#home
Settings
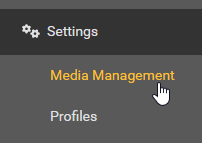
First, we go to settings > Media Management.
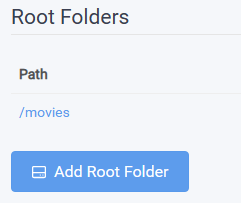
In this section, you can just read through and choose your preferences. For most of it, I just went with the default settings. The most important thing on this page is at the bottom and it is the root folder. Click on the blue Add Root Folder button. If you did not make any changes to the Radarr section of the docker compose file, then you should see a folder called movies. Select it, and you should see movies if you already have movies in this directory, then click ok. Save changes at the top of the page. If it comes back blank with no folder added, then most likely the permissions are not set correctly in your docker compose file. You can verify by going to System >> Events to verify in the logs. Look under Radarr >> Environment for PUID and PGID in your docker compose file.
Profiles
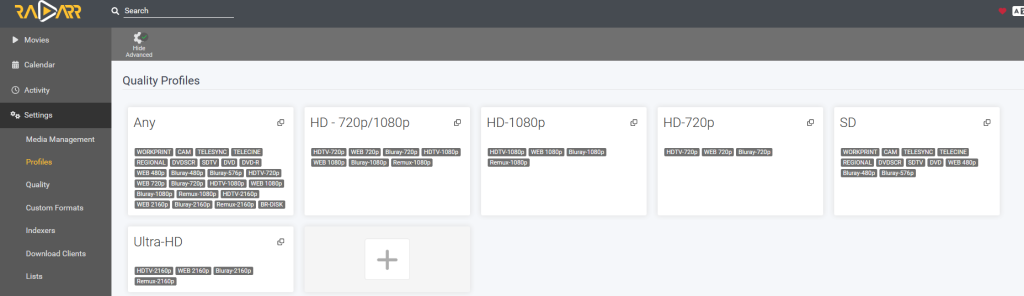
Under settings >> profiles you can either leave them as is, or you can delete, modify or even create custom profiles. Normally I only open each and sort them in order of my preference. When choosing in OMBI you will see each of these profile options so you can choose depending on the movie.
Quality
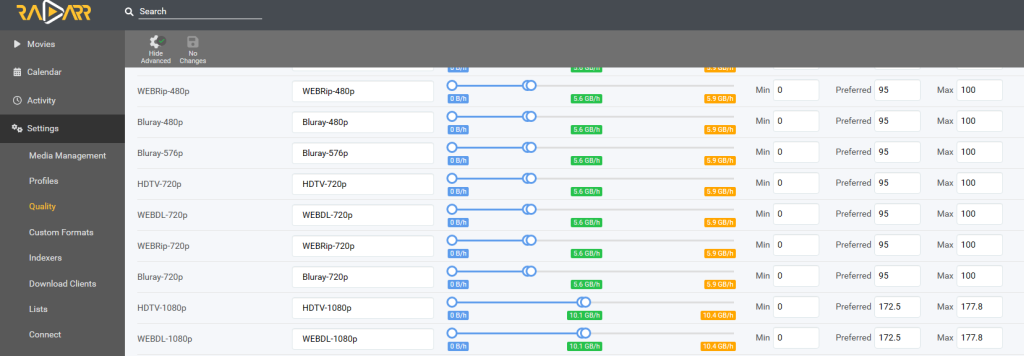
Navigate to settings >> quality to set size limits on files. If space does not matter you can crank it to unlimited if you wish.
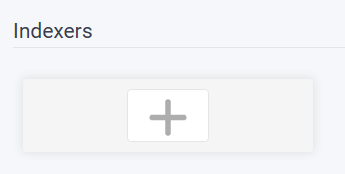
Indexers
On to setting up the Jackett indexer under settings >> indexers. Click on the plus sign in the box to add a new indexer.
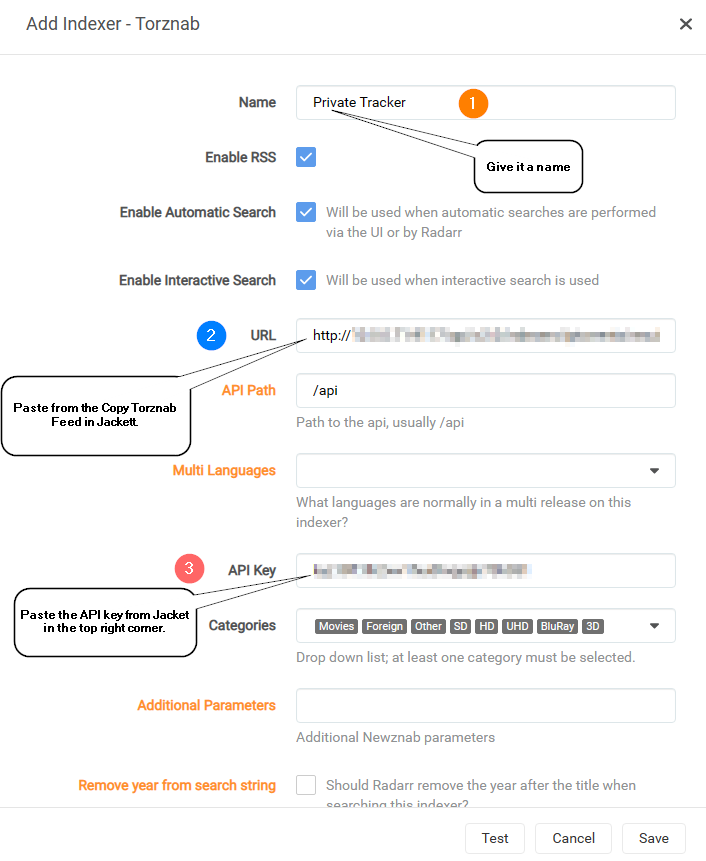
On this screen we will give it a name, paste the URL from Jackett and paste the API key from Jackett and then hit test
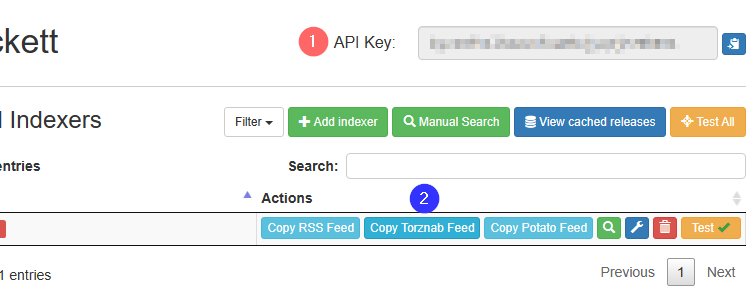
Here is an image of Jackett again to find the Copy Torznab Feed and API.
Download clients
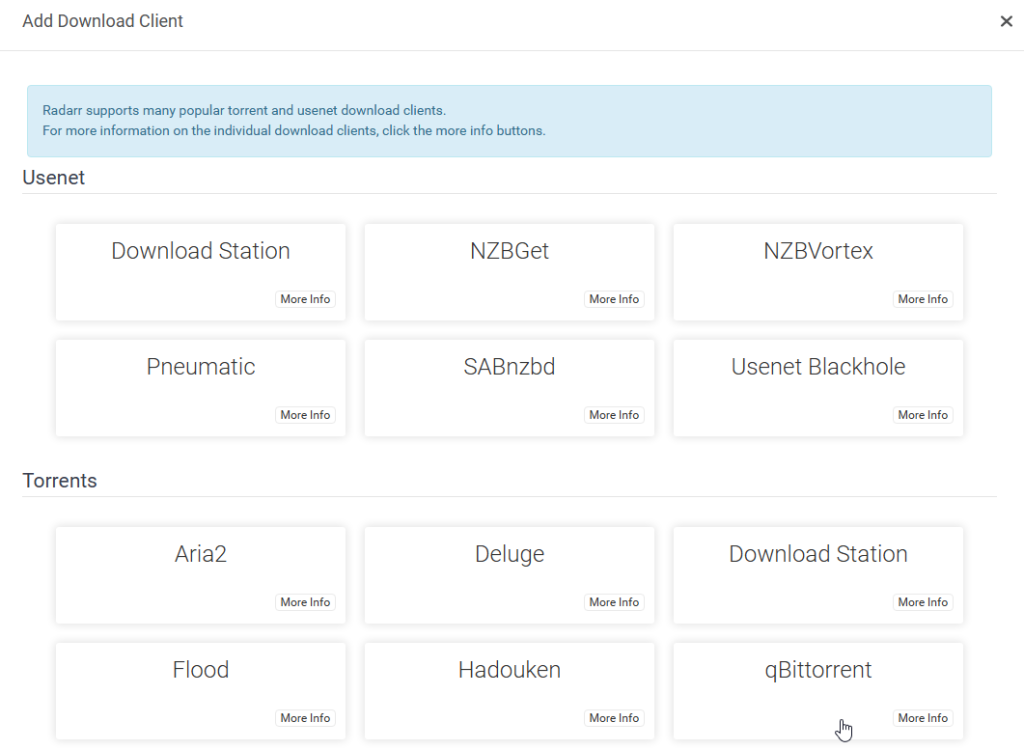
Now we will add our qBittorrent download client.
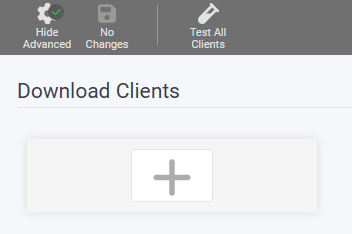
Choose the qBittorrent option.
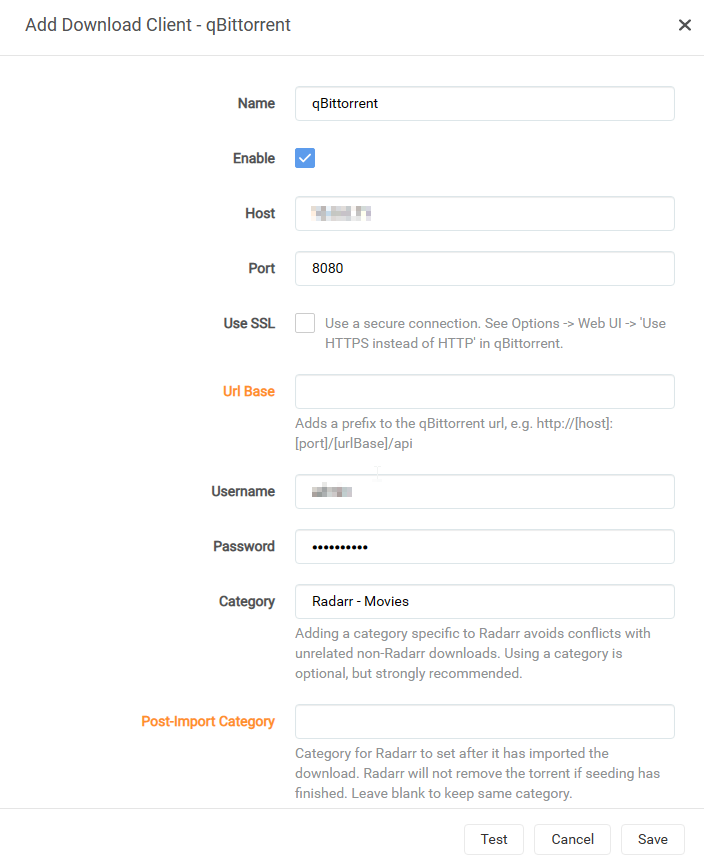
Give it a name and add the IP address for qBittorrent, like our example of 10.0.0.25. Leave it at http and 8080, unless you created a certificate. Add your username and password for qBittorrent and name the category the same as you did in the qBittorrent client. Click test and if you get a green checkmark you are set and can save it.
The rest of the settings can remain the same. You can find logs and events in the settings as well. Do not upgrade from here. This is a docker image and we update by pulling the latest image with a docker pull. I had an error that shows up but it is because it thinks the path is different between Radarr and qBittorrent. It is not. If you get the same you can test it and if it works like mine did, then you can just ignore it. Or you can go back to the docker compose file and make them match.

Final Thoughts
The Radarr set-up had more steps, but we are now starting to see the projects applications working together. Sonarr, Lidarr and Readarr are the same set up as Radarr so I plan to make them much shorter.
Below are the links to each part of the All-in-One Media Docker Container. Next up is Sonarr.
Find more on https://notposted.com
No Comments on "Radarr set-up configuration (Part 4 of the All-in-One Media Docker Container Series)"