

This guide will walk you through the Ombi set-up configuration to request Movie and TV show downloads via Radarr, Sonarr and qBittorrent. Ombi allows your Plex, Emby or Jellyfin media server users to request content for themselves. These requests can be automatically allowed or require approval and if you set up the SMTP for email it will also send notifications via email when something is requested, approved and available.
Let’s Begin
First you will need to open a browser and enter the local IP address and the Ombi port for your Ombi installation. For example, if the IP address for the device is 10.0.0.25 you will enter http://10.0.0.25:3579. If you are not sure of your local IP address, you can open a terminal and type in hostname -I and press enter. The first IP address in the list should be the one you need. For more information on how it works you can go to their website at https://ombi.io/
Set-up
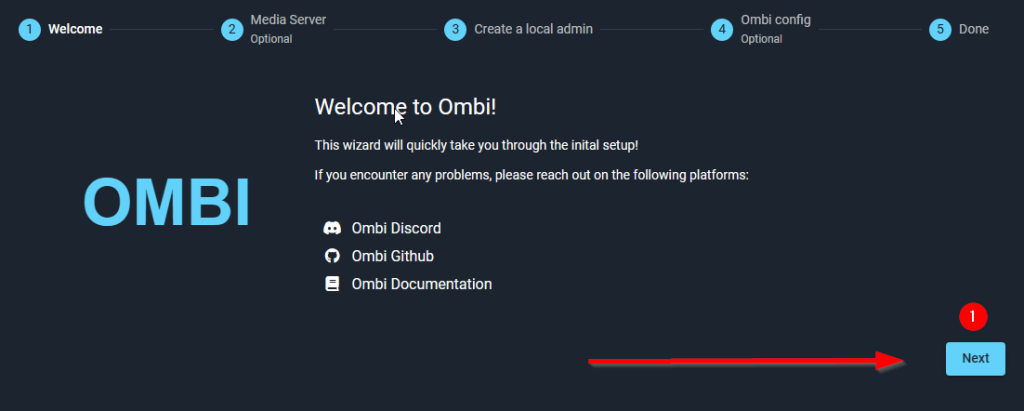
The first step is a tough one, so I added an arrow and a step number in the image to help. Click Next.
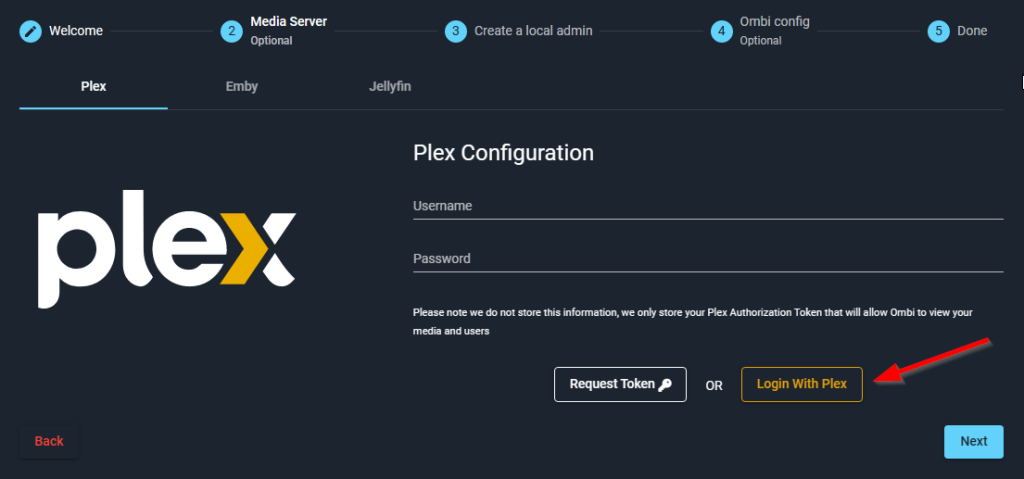
On the next screen we will be adding the Plex and Jellyfin media servers. We are not doing Emby as the docker compose file does not have emby. I may add this later but just know it will sue the api key like Jellyfin. For Plex I will be using the Login in with Plex option.
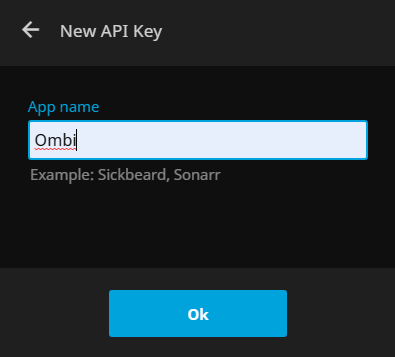
For Jellyfin we will be using an api key from Jellyfin. To get this you will open Jellyfin in your browser and go to Menu >> Dashboard >> API Keys and then click on the plus sign.

Call it Ombi, since this is where we will use it.
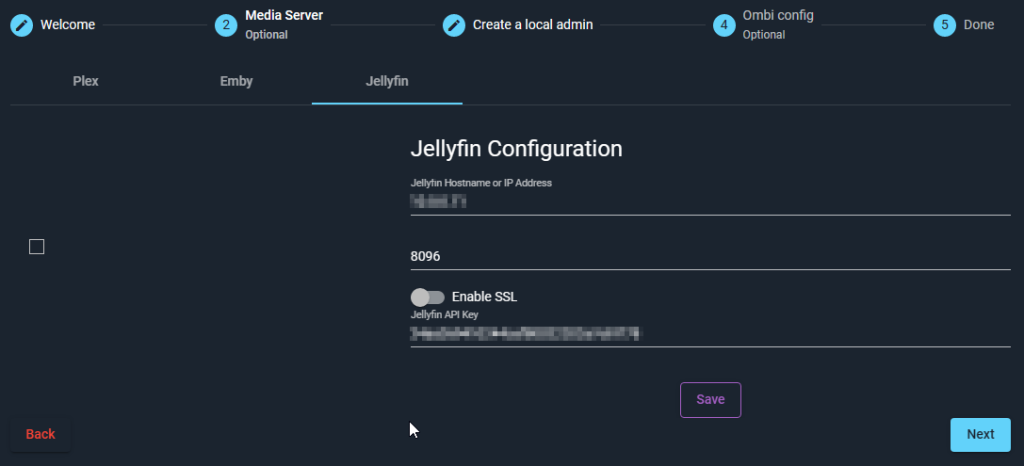
Copy the API Key from that screen and paste it in Ombi along with the IP address for Jellyfin’s device and hit next.
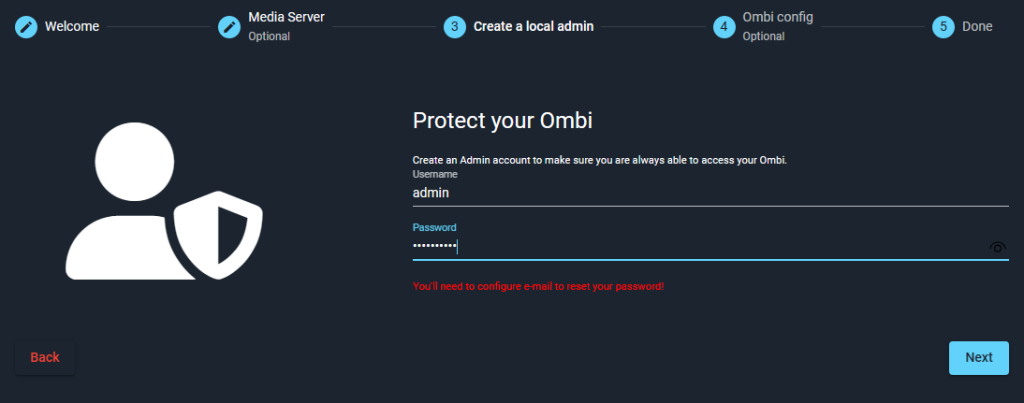
Create an admin account for Ombi. Please note that if you do not set up the email (which trust me you really do want to), then you cannot reset the password.
On the next screen you can change the name, logo and URL for your Ombi installation or just leave them blank. I have a domain name and I use portzilla to forward a sub domain of that directly to my IP and port, so that it can be opened externally via that domain name.
One more screen to just click on Finish and then sign in. Did you think we are done? Sorry….
More set-up (Media Servers)
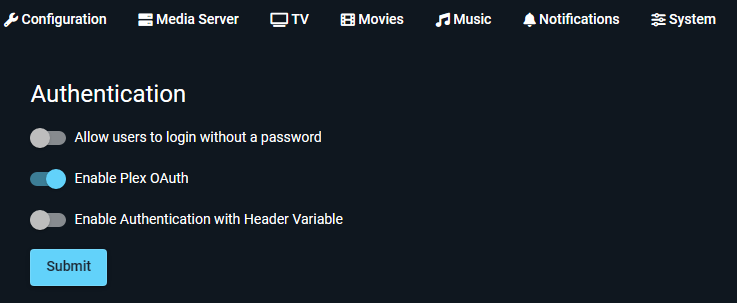
There are many settings in Ombi. I will try to focus on the most important ones relating to this series. First lets go to settings >> configuration >> authentication. If you wish to allow users to sign in with their Plex account, then you will need to enable the Plex OAuth button and hit submit.
If you have Plex users that you want to give access to use Ombi for requests, you can import them and set their access by going to Configuration >> User Management.

Now at the top of this settings menu click on Media Server and then Plex. Select enable and then add server. Enter your username and password on the right side and click on the Load Servers button. This will add a server drop-down on the bottom left.
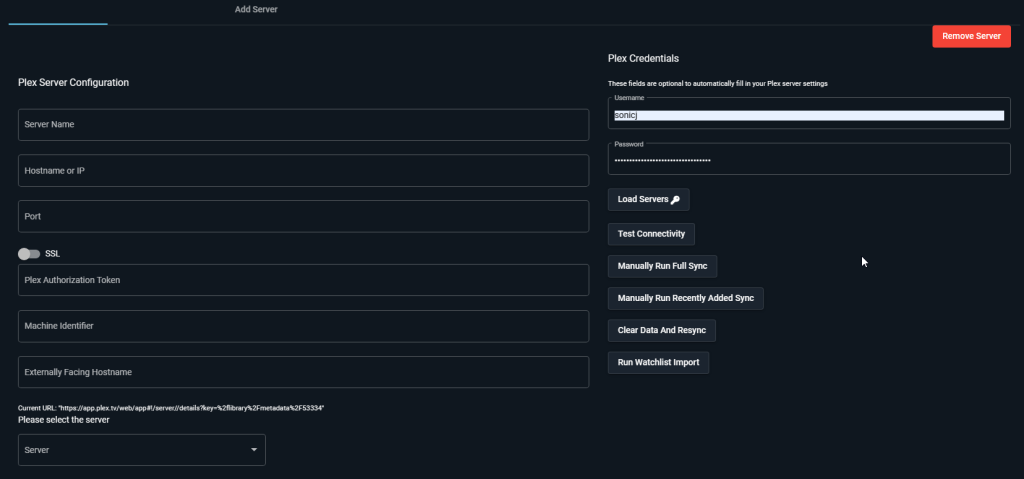
Choose your server from the drop-down. This will automatically fill in the required information. Then click on the SSL switch and Submit button at the bottom.
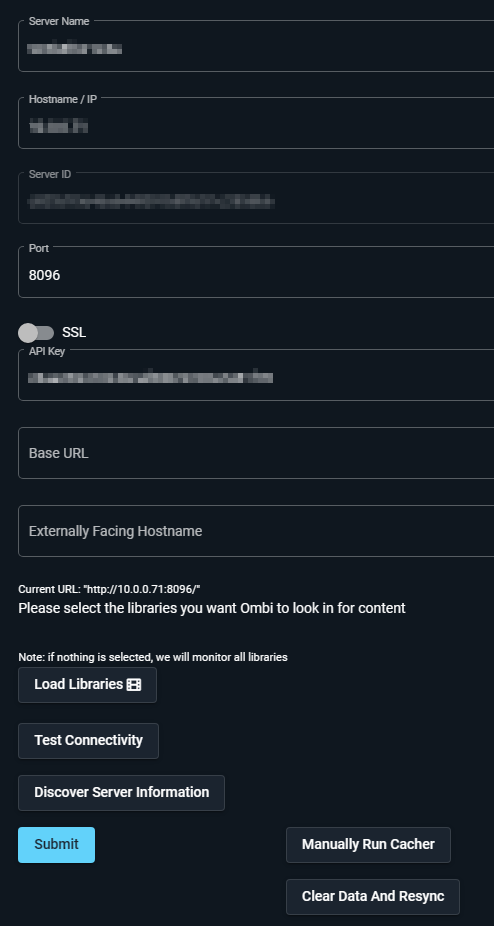
We can now move on to Media Server >> Jellyfin at the top menu and then Add Server. Enter the IP address for the host of Jellyfin, the port which should be 8096 and go to Jellyfin to get the API key made earlier and paste it under API key in Ombi. Now you should be able to click on “Discover Server Information” and it will fill in the rest. Click on Submit.
Sonarr
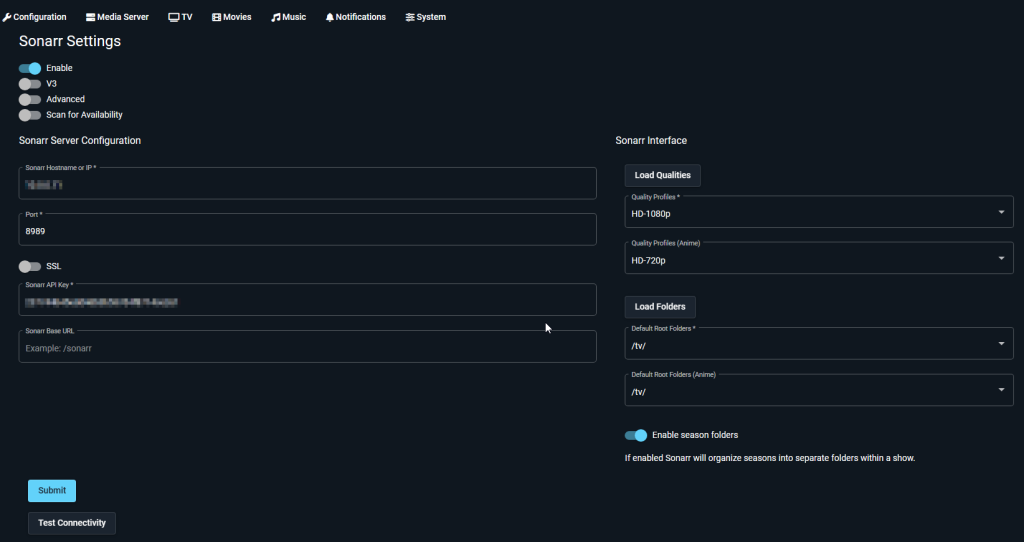
Open your Sonarr application and navigate to Settings >> General and scroll down to the security section. Copy the API key. Go back Ombi and go to TV >> Sonarr and enable it. Paste the Sonarr API key in the proper field. Enter your IP address and port number. Click on Load Qualities button and select one for each drop-down. Click on Load Folders button and select for each drop-down. Test connectivity and then submit.
Radarr
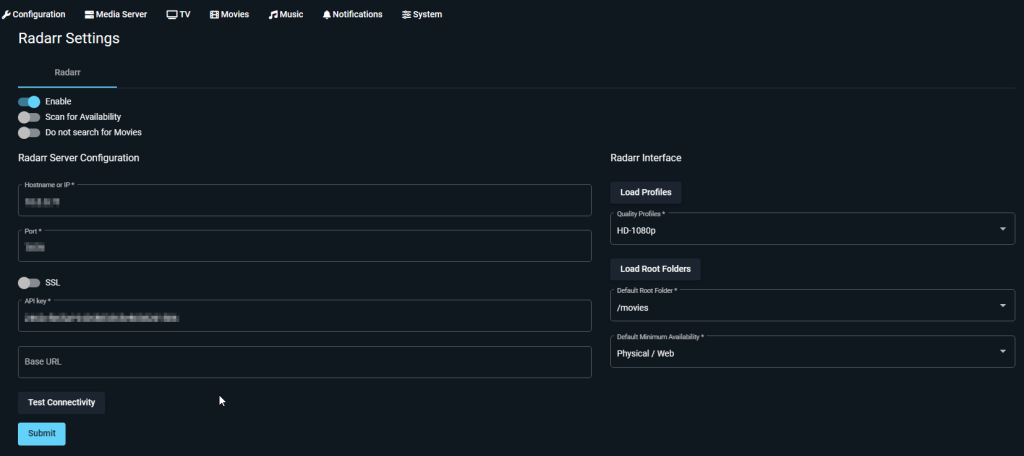
Select Movies >> Radarr and then enable it. Enter the IP address for the host of Radarr and the port number which should be 7878. Go to the Radarr application in your browser and then go to Settings >> General and scroll down to the Security settings and copy the API key. Go back to Ombi and paste it there in the proper field. Load the profiles and root folders and select the ones you want. Click on test connectivity and if all is ok, click on the submit button.
If you added Lidarr in your docker compose file, then you can now do the same for it under Music >> Lidarr. We are now left with 2 more settings to change.
Email Notifications
First, we need to add an email address for the admin account we created by going to Users on the left and clicking the edit button on the admin user. Enter your email address.
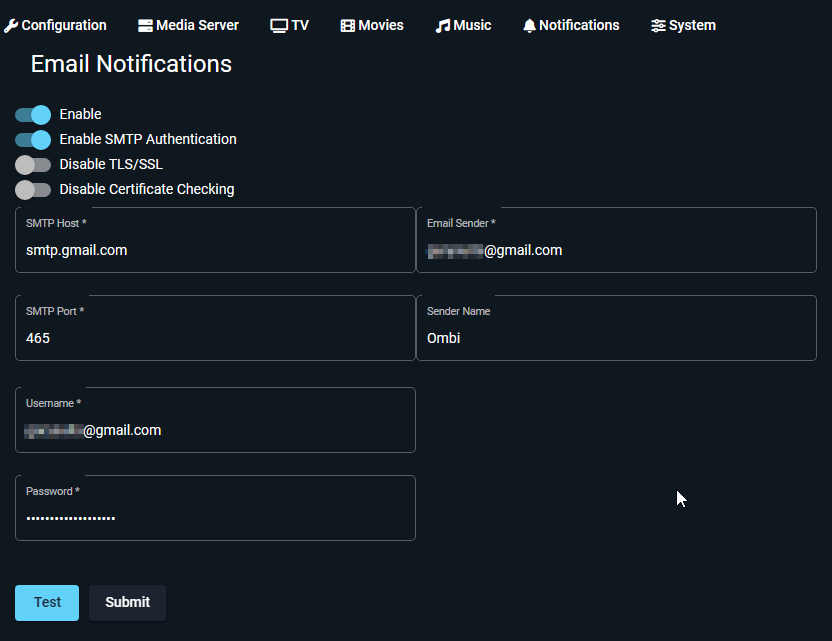
For you to receive notifications to approve requests or for users to get notifications that their request is available, you will need to set up Email Notifications. Go to Settings >> Notifications >> Email. I used gmails smtp mail servers. Below is how I set it up.
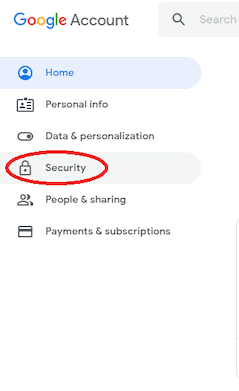
If you have 2-step verification on, you will need to use an app password. If you don’t have two factor authentication enabled, you can skip the instructions given below. Here’s a quick tutorial on how to create an app specific password:
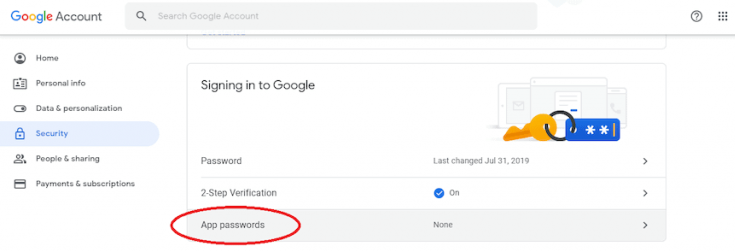
Go to your Google Account and choose Security on the left panel.
On the Signing into Google tab, select App Passwords.
Click on Select app and pick the app you’re using.

Select other, name it and click generate. The App Password is the 16-character code in the yellow bar. Add this to the password in Ombi.

Final Thoughts
There are many options in Ombi beyond what I have shown here. I gave the basics plus some. For example, there are many notification options available, like pushover to get text notifications. You now have the majority of the automation applications installed and ready for use.
Below are the links to each part of the All-in-One Media Docker Container. Next up is Tautulli.
Find more on https://notposted.com

")
")
No Comments on "Ombi set-up configuration (Part 10 of the All-in-One Media Docker Container Series)"