
This guide will walk you through the Plex set-up configuration to serve up your media on a multitude of devices. We will set up the server with the assumption that you have a plex pass. Many of the really good features, like DVR etc, are only part of the pass. Fear not if you do not have it or cannot afford it, there is another option in the form of JellyFin, which is also part of this series. So stay tuned or fast forward to the next part as you see fit.
Let’s Begin
First you will need to open a browser and enter the local IP address and the Plex port for your Plex installation. For example, if the IP address for the device is 10.0.0.25 you will enter http://10.0.0.25:32400/manage. If you are not sure of your local IP address, you can open a terminal and type in hostname -I and press enter. The first IP address in the list should be the one you need. For more information on how it works you can go to their website at https://www.plex.tv/
You will be prompted to sign in with your Plex account, soon followed by this image telling you how it works:
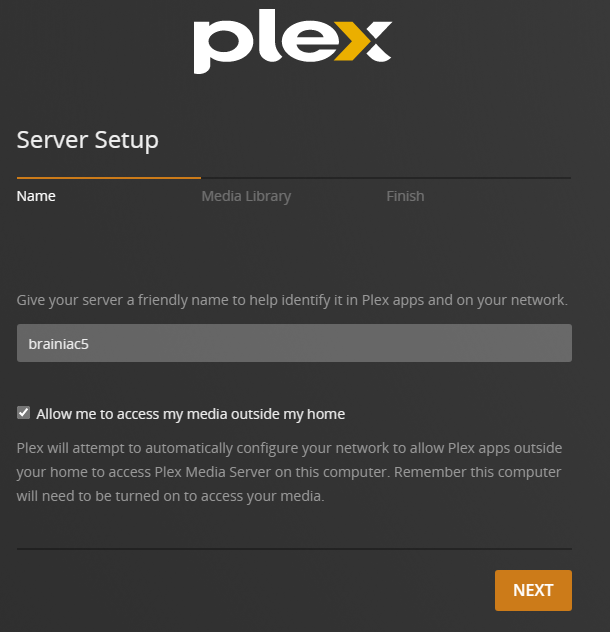
Now you get to name your Plex Media Server so you can identify the correct one to connect to. By default it will have the name of the server/desktop that you have it installed on. Change it if you like. You also have the option to choose viewing outside of your house. Click on next.
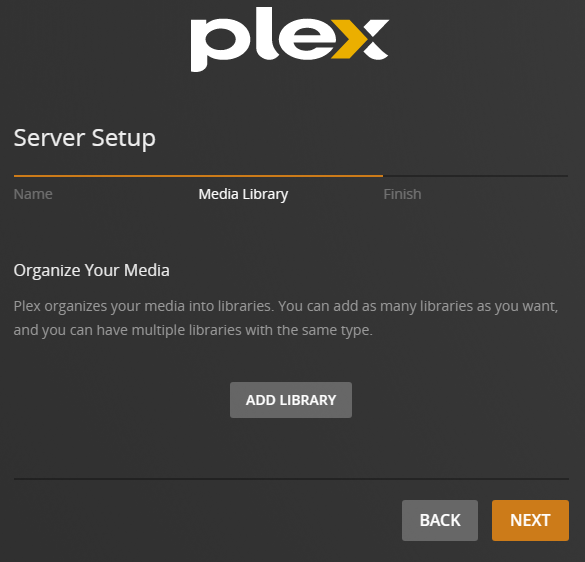
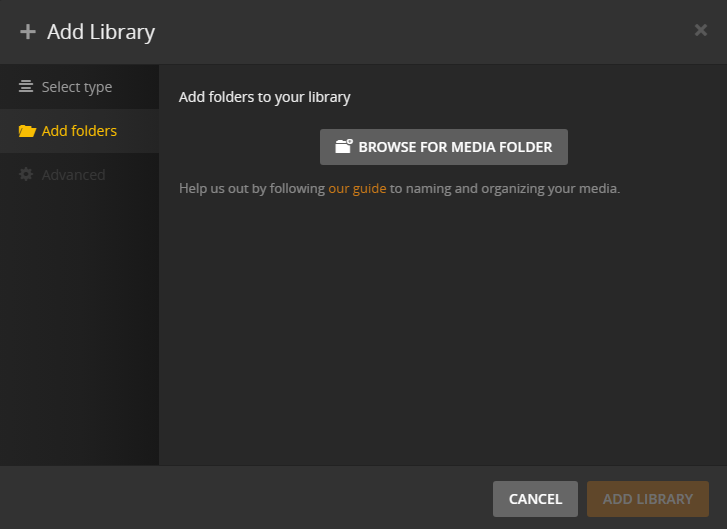
Click on Add Library.
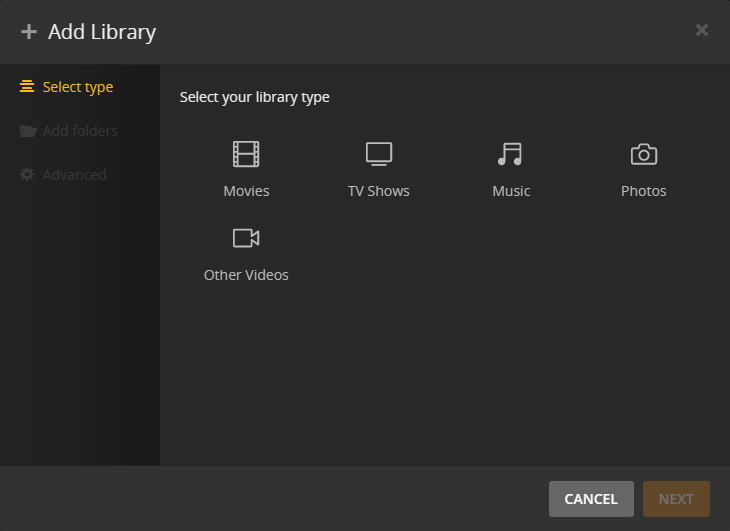
Select a library type, one at a time, and then name it or leave the default and click on add folders on the left.
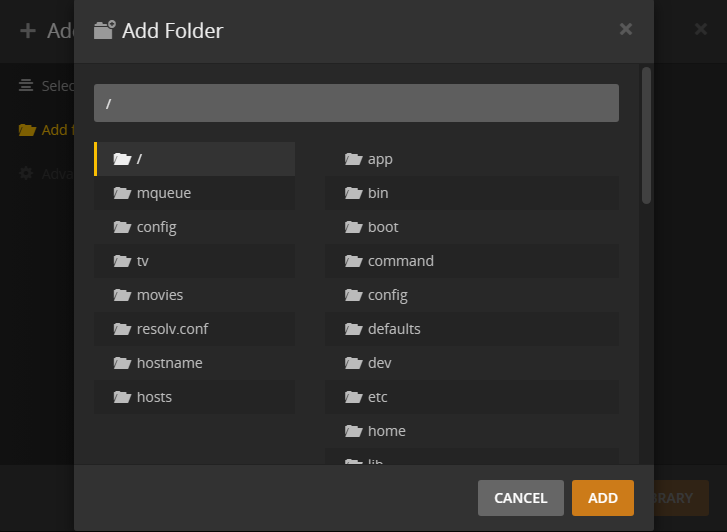
Choose the Browse for Media Folder button
If the library type you chose was movies, then select the movies. If you changed your docker compose file to something else, then that name should be here as well. Plex works great for music and photos as well. The plexamp for music is really nice. I did not add those volumes in the docker compose file, but it is simple to do. Modify your compose file to add the following under Plex >> volumes (if you changed yours then modify it for that)
- /media/windowsshare/myshows/photos:/photos
- /media/windowsshare/myshows/music:/music
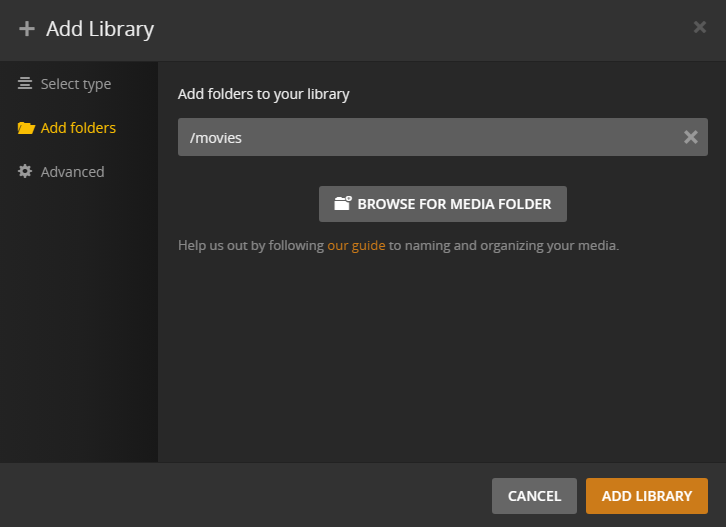
Click on Add Library and then continue until you have added all the folders for your library and click Next.
Click on Done.
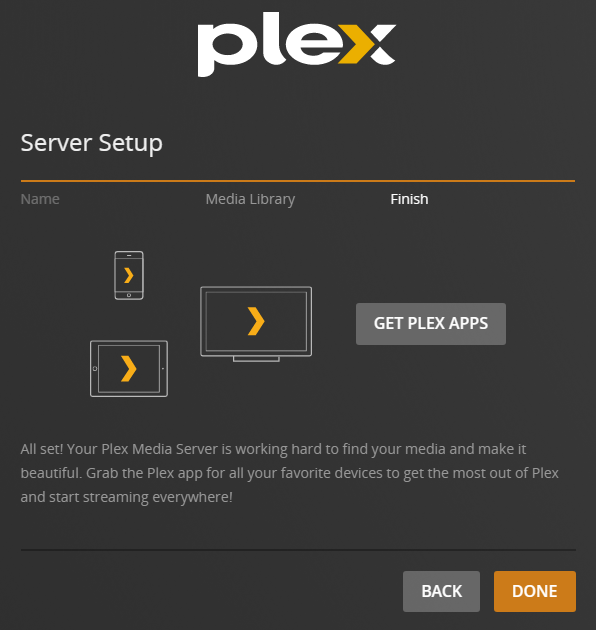
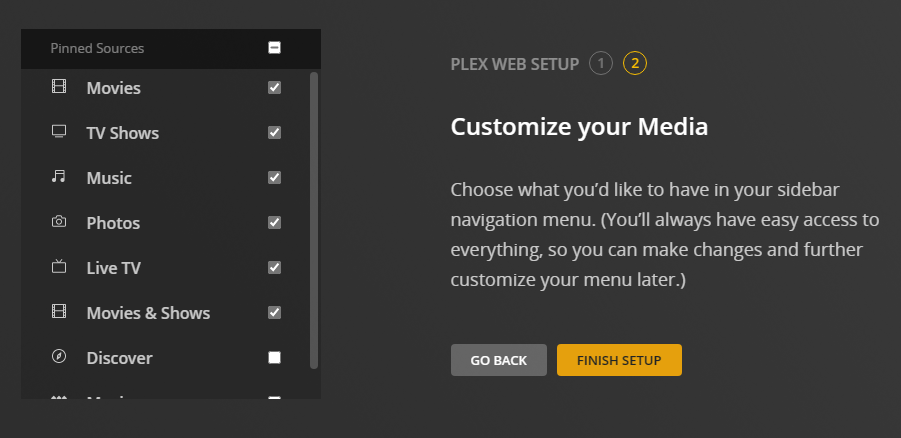
Choose your server and then select the items you want pinned on the side. These can be changed later if you just want to use the defaults. Finish Setup.
It is now crawling your directories to find the media files and adding them. Depending on the size of the libraries and the speed of your device hosting the Plex Media Server, this could take some time. There are apps for about any device you wish to watch on. And you are now ready to do just that. You can even watch it in your browser if you like.
Remote access
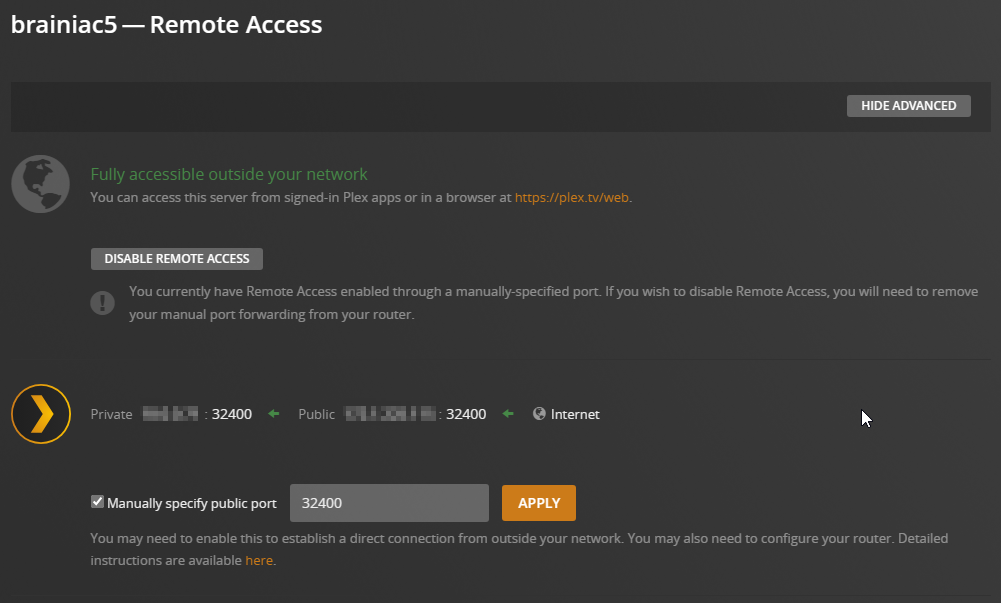
However, there is one more thing we need to do if you wish to watch it outside of your network. First you will have to open port 32400 on your router to allow traffic. Then you will have to change the following settings in your Plex Media Server. Go to the settings wrench icon at the top right and then settings on the left and remote access.

Click on the show advanced button and check the box for Manually specify public port and click retry.
Final Thoughts
We are now finished setting up our Plex Media Server to play all of our media on. We only have a few more applications until you will have a nice automated system for your media. Thanks for hanging in there with me so far.
Below are the links to each part of the All-in-One Media Docker Container. Next up is xTeve.
Find more on https://notposted.com

")
")
")
No Comments on "Plex set-up configuration (Part 7 of the All-in-One Media Docker Container Series)"